Creating a User
This topic describes how to create a user, typically, the company administrator.
Note: You can only create, modify, and delete users at the same or lower level as your role.
- On the ShipExec Management Studio home page, click User Manager in the upper right corner.

The User Manager page displays.

- Click Add User. The Add/Update User dialog box displays.
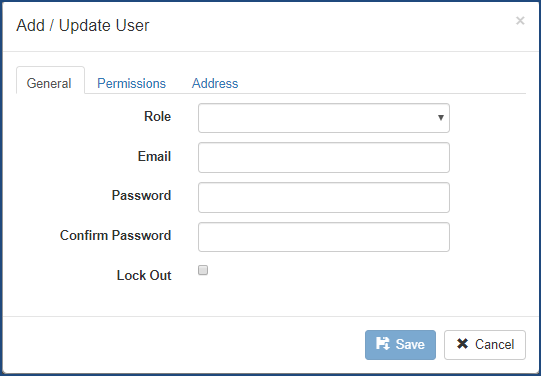
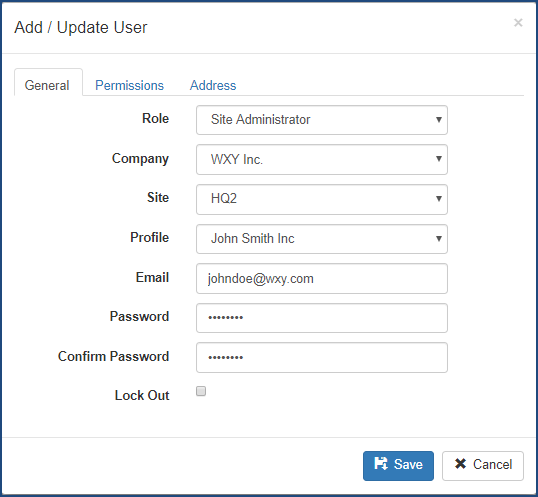
- From the Role drop-down list, select the user's role. Management Studio displays additional fields depending on the role you select.
- From the Company drop-down list, select the company with which you want to associate the user. (You must select a company for all roles except administrator and enterprise administrator.)
- From the Site drop-down list, select the site you want to associate with the user. (For the user role, site is optional.)
- From the Profile drop-down list, select the user profile (Optional).
- Type the user’s email address in the Email box.
- Type the user’s password in the Password box. (Password must have a minimum of 6 characters, 1 capital letter, and 1 non-alpha/numeric character.)
- Type the user’s password again in the Confirm Password box.
- Click the Permissions tab.
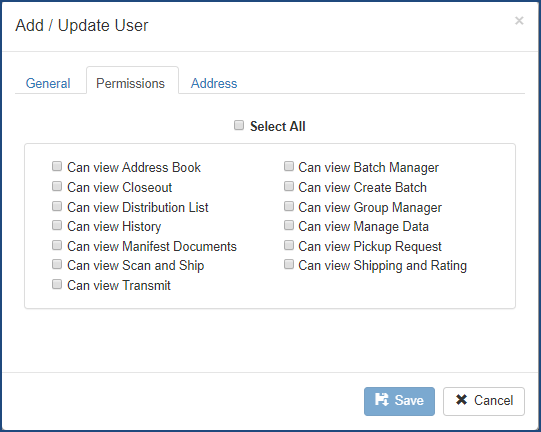
- Select the check boxes for the permissions you want to grant the user.
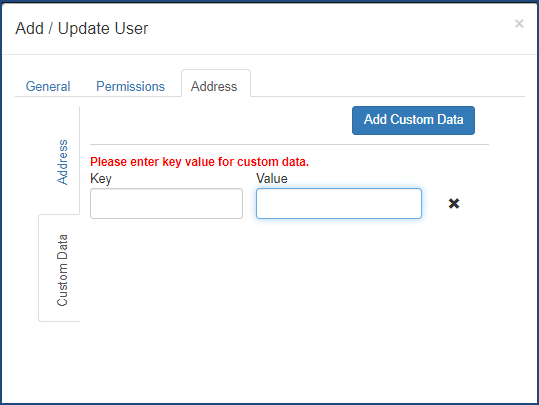
- Click the Address tab.
- Complete the user's address.
- Click the Custom Data vertical tab.
- Click the Add Custom Data button.
- Complete the Key and Value boxes.
- Click Save.
Related Topics